If you’re tired of looking at static wallpaper on your Windows 10 desktop, it’s time to upgrade to live wallpaper. Live wallpapers provide a more dynamic and engaging experience and can add some personality to your device. In this article, we’ll guide you through the steps to set live wallpaper on your Windows 10 machine using Lively Wallpaper, a third-party app that offers a wide range of customization options.
Table of Contents:
- Step 1: Download and Install Lively Wallpaper
- Step 2: Launch Lively Wallpaper
- Step 3: Choose a Live Wallpaper
- Step 4: Preview and Apply the Wallpaper
- Step 5: Customize Your Live Wallpaper
- Step 6: Create Your Own Live Wallpaper
- Step 7: Import Live Wallpaper
- Step 8: Share Your Live Wallpaper
- Step 9: Set Live Wallpaper on Multiple Monitors
- Step 10: Troubleshoot Live Wallpaper Issues
- Step 11: Uninstall Lively Wallpaper
- Bonus: Watch YouTube Video
- Conclusion
Step 1: Download and Install Lively Wallpaper
The first step is to download and install Lively Wallpaper on your Windows 10 computer. It can be easily downloaded from the official website or from the Microsoft Store as well.
To download from the official website, navigate to https://rocksdanister.github.io/lively and click on the “Download” button. Save the downloaded file to your computer, and then double-click on it to start the installation process. Follow the on-screen instructions to install the software on your computer.
To download from the Microsoft Store, open the Microsoft Store app on your Windows 10 computer and search for “Lively Wallpaper”. Just simply click on the “Get” button to download and install the app.

Step 2: Launch Lively Wallpaper
Once you have installed Lively Wallpaper, you can launch it by clicking on the Start menu and typing “Lively Wallpaper” into the search bar. Click on the Lively Wallpaper app icon to open it.
Step 3: Choose a Live Wallpaper
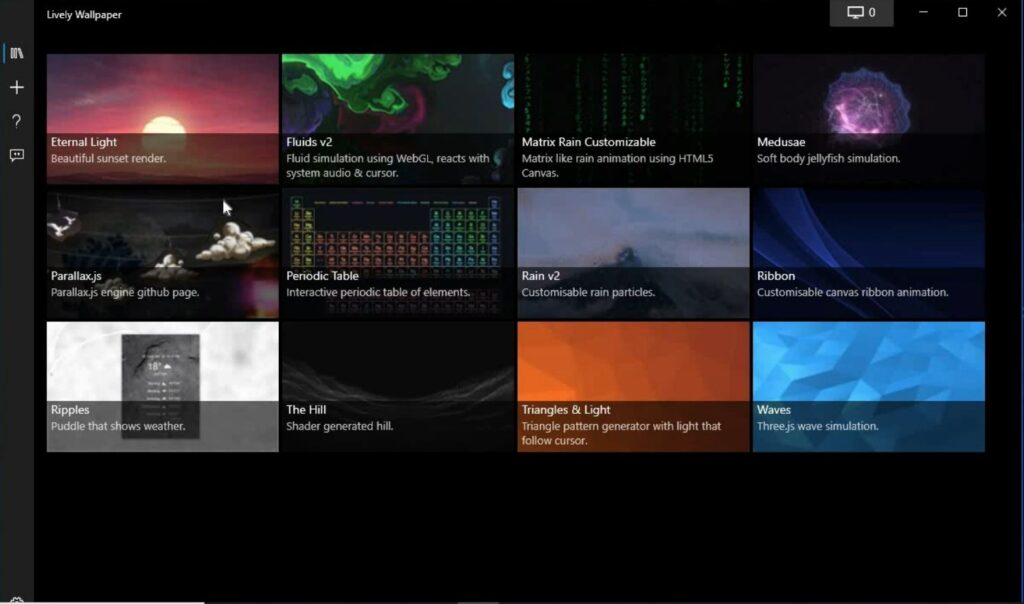
Lively Wallpaper offers a wide range of live wallpapers to choose from. To browse through them, click on the “Browse” button on the app’s main screen. You can filter the wallpapers by category or search for a specific wallpaper by name. Click on a live wallpaper to preview it.

Step 4: Preview and Apply the Wallpaper
Once you’ve chosen a wallpaper you like, you can preview it by clicking on the “Preview” button. This will open a new window where you can see the wallpaper in action. If you’re happy with the wallpaper, click on the “Apply” button to set it as your desktop background.
Step 5: Customize Your Live Wallpaper
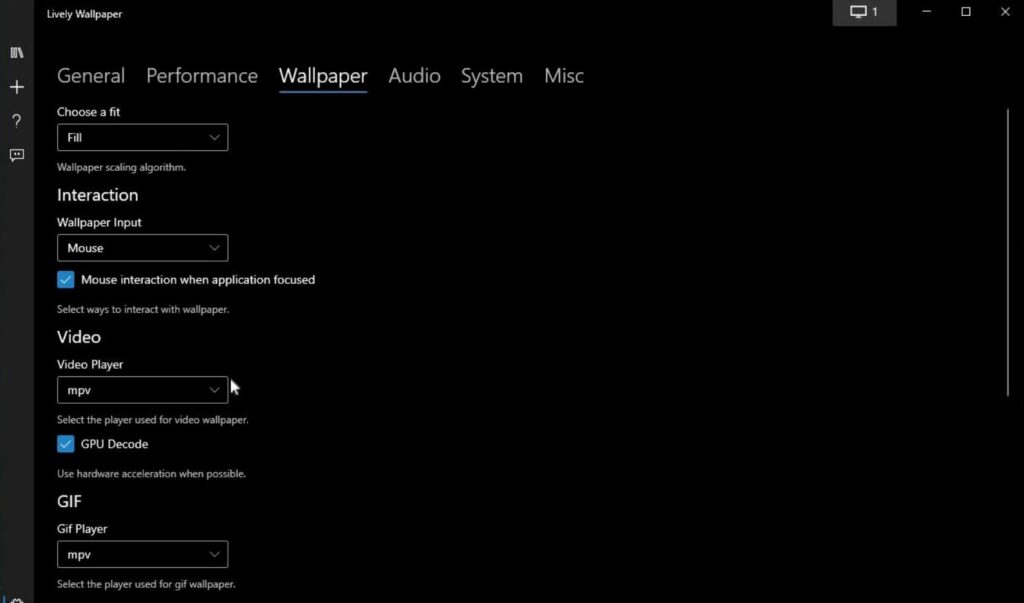
Lively Wallpaper allows you to customize your live wallpaper by adjusting various settings. To access the wallpaper settings, click on the “Settings” button on the app’s main screen.
From here, you can adjust the wallpaper speed, change the opacity, and enable or disable sound. You can also set the wallpaper to run in fullscreen or windowed mode, and choose whether to show the wallpaper on all monitors or just on your primary monitor.

Step 6: Create Your Own Live Wallpaper
Lively Wallpaper also allows you to create your own live wallpapers using HTML, CSS, and JavaScript. To create a new live wallpaper, click on the “Create Wallpaper” button on the app’s main screen. This will open the wallpaper editor, where you can write your own code or modify existing code to create your own unique live wallpaper.
Step 7: Import Live Wallpaper
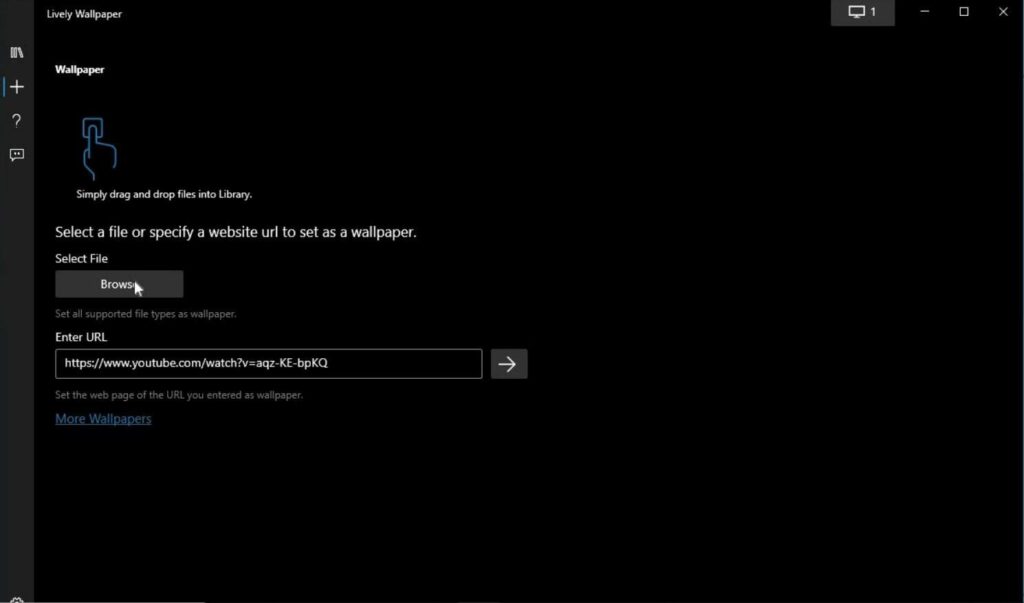
If you already have a live wallpaper that you want to use, you can import it to Lively Wallpaper. To do this, click on the “Import” button on the main app screen and select the wallpaper file. Once the wallpaper is imported, you can apply it to your desktop background.

Step 8: Share Your Live Wallpaper
If you’ve created a custom wallpaper or found a wallpaper that you think others will love, you can share it with others. Lively Wallpaper allows you to generate a link to share your wallpaper. To do this, click on the “Share” button on the main app screen and copy the link.
Step 9: Set Live Wallpaper on Multiple Monitors
If you have multiple monitors, you can set live wallpaper on all of them using Lively Wallpaper. To do this, click on the “Settings” icon on the main app screen and select “Monitor Settings.” Here, you can choose to set the live wallpaper on all monitors or just on your primary monitor.
Step 10: Troubleshoot Live Wallpaper Issues
If you encounter any issues with your live wallpaper, there are several troubleshooting steps you can take. Lively Wallpaper provides an FAQ section on their official website where you can find solutions to common issues. Additionally, you can contact their support team for further assistance.
Step 11: Uninstall Lively Wallpaper
If you decide that you no longer want to use Lively Wallpaper, you can easily uninstall it from your Windows 10 machine. To do this, go to the “Apps & Features” section in the Windows settings and locate Lively Wallpaper in the list of installed apps. Click on the app and select “Uninstall” to remove it from your device.
Watch YouTube Video

Conclusion
Setting live wallpaper on your Windows 10 machine using Lively Wallpaper is a straightforward process that offers a range of customization options. With the ability to choose from a vast library of pre-designed wallpapers or create your own, the possibilities for personalization are endless. Additionally, the app’s user-friendly interface and support resources make it easy to troubleshoot any issues that may arise. So why settle for a static wallpaper when you can set live wallpaper and add some life to your desktop background? Follow the steps outlined in this guide, and you’ll be on your way to a more dynamic and engaging desktop experience.
If you want to experience the clicky or typewriter sound while typing on a keyword on your Windows PC, then read this article Keyboard sound effect while typing.
Please share your comments below, if you have any suggestions/feedback/queries.
